Adafruit Trinket M0
for use with CircuitPython & Arduino IDE
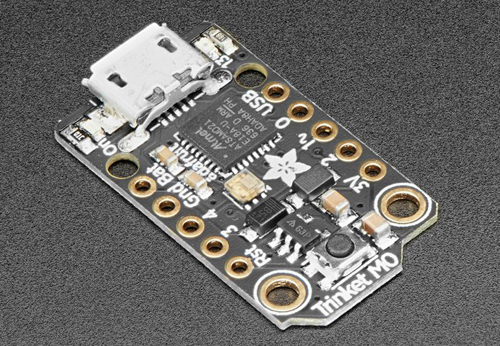
Specs
- Dimensions: 27mm x 15.3mm x 3.5mm / 1.07" x 0.6" x 0.14"
- ATSAMD21E18 32-bit Cortex M0+, running @ 48 MHz
- 256KB Flash
- 32 KB RAM
- Native USB supported by every OS - can be used in Arduino or CircuitPython as USB serial console, Keyboard/Mouse HID, even a little disk drive for storing Python scripts.
- Can be used with Arduino IDE or CircuitPython
- Built in green ON LED
- Built in red pin #13 LED
- Built in RGB DotStar LED
- All 5 GPIO pins are available and are not shared with USB - so you can use them for whatever you like!
- Five GPIO pins with digital input/output with internally connected pullups or pulldowns
- Three of the I/O pins can be used for 12-bit analog input
- True analog output on one I/O pin - can be used to play 10-bit quality audio clips in Arduino (CircuitPython does not have storage for audio clips)
- We gave the M0 pads the exact same names as the original Trinket so all your existing Arduino code will work exactly the same as-is without changes
- Two high speed PWM outputs - for servos, LEDs, etc
- Three pins can also be used as hardware capacitive touch sensors with no additional components required
- Can drive NeoPixels or DotStars on any pins, with enough memory to drive 8000+ pixels. DMA-NeoPixel support on one pin so you can drive pixels without having to spend any processor time on it.
- Native hardware SPI, I2C and Serial available on two pads so you can connect to any I2C or Serial device with true hardware support.
You can have either one SPI device or both I2C and Serial.
- Same Reset switch for starting your project code over
- Power with either USB or external output (such as a battery) - it'll automatically switch over
- Mounting holes ⌀ 2 mm
- Low cost, small form factor & low energy
Pinout
Click image for original size.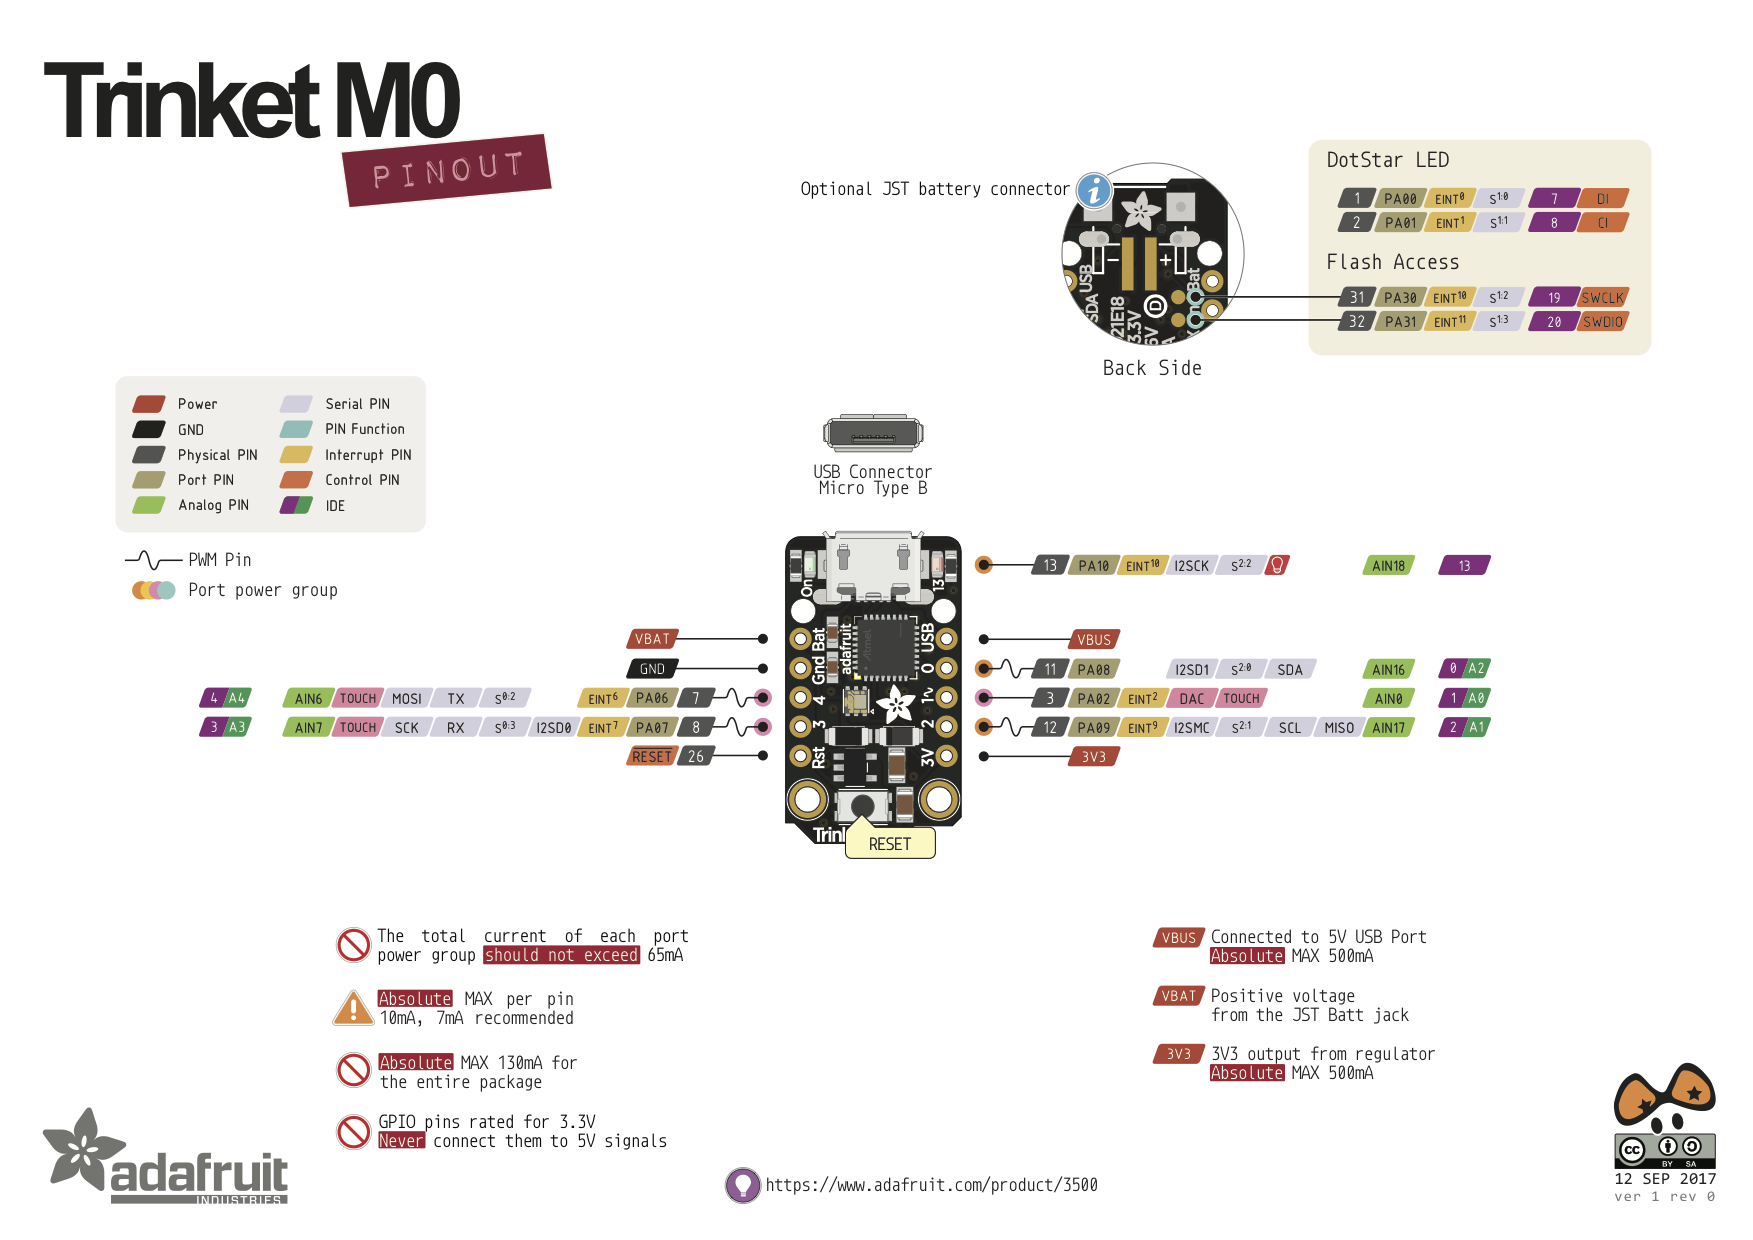
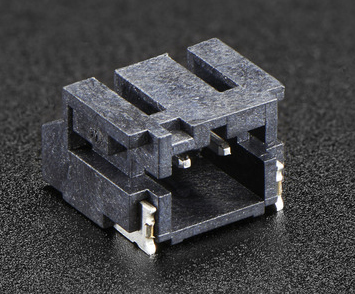
JST Battery Input
You can optionally solder on a a JST PH connector on the back so you can take your Trinket anywhere and power it from an external battery. The connector is also tied to the BAT pin on the headers but it can be nice to just plug in a cable
This pin can take up 6V DC input, and has reverse-polarity, over-current and thermal protections. The circuitry inside will use either the battery or USB power, safely switching from one to the other. If both are connected, it will use whichever has the higher voltage. Works great with a Lithium Polymer battery or a 3xAAA battery pack with a JST connector on the end. There is no built in battery charging (so that you can use Alkaline or Lithium batteries safely)
SWD Pads
On the back of the Trinket M0 you will see two small pads (just above the GND pad). These are used for Adafruits programming/test but you can use them too.
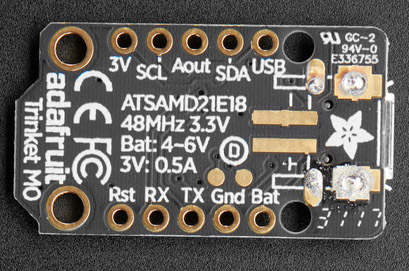
- SWCLK (right)
- SWDIO (left)